
Build a system for the future of AI research in 1 hour (Part 2, Control Plane & Memory)
In part 1 we built a cluster and enabled virtualized GPUs. In part 2 we will use this to power our systemic memory layer which LLMs can use to power the future of computing.


Since Part 1, we’ve established that we want to be modern AI engineers on a linux box which we’ve turned into a headless cluster able to serve any virtualized needs we can think up.
There is no way to navigate this potentially complex environment without going back to square one methodologically (i.e. entering commands for every little thing). It will require you accept some things and adapt to others and your mileage may vary.
The future of computing shouldn’t typically be limited by the interfaces of today.
AI research is costly in time before it’s particularly costly in terms of money. Though one can lead to another, time is what we’re looking to reinvest.
The pace of progress is due to work ethic among many people, all around the world, in a field defined by the bleeding edge. Operating systems of today are not built for this.
Agree? 🫣 Then you’re still reading the right series! 🤝
Let’s get back to building the future, with it in mind that these issues apply to every person hoping to build something with AI at a pace which dignifies their creativity and likely technical aptitude as well.
🐂 Rancher Control Plane UI
First, we need to install helm. It doesn’t get its own section because it’s not a concept on it’s own which needs explaining, the Kubernetes manifest packages helm calls charts is what you will fall asleep at your workstation over.
Let’s grab it, then install Rancher’s few dependencies.
$ curl -fsSL -o get_helm.sh https://raw.githubusercontent.com/helm/helm/main/scripts/get-helm-3
$ chmod 700 get_helm.sh
$ ./get_helm.sh
$ helm repo add rancher-stable https://releases.rancher.com/server-charts/stableCreate a namespace in your local cluster separate from system manifests:
$ k3s kubectl create ns cattle-systemInstall cert-manager, which makes TLS/HTTPS possible, then install.
$ k3s kubectl apply -f https://github.com/cert-manager/cert-manager/releases/download/v1.13.2/cert-manager.crds.yaml
$ helm repo add jetstack https://charts.jetstack.io
$ helm repo update
$ helm install cert-manager jetstack/cert-manager \
  --namespace cert-manager \
  --create-namespace
Finally, it’s time to install Rancher.
$ helm install rancher rancher-latest/rancher \
  --namespace cattle-system \
  --set hostname=YOUR_SSLIP_HOSTNAME \
  --set bootstrapPassword=admin
YOUR_SSLIP_HOSTNAME needs to be replace with the following:
<your hosts local IP (not your external IP)>.sslip.io
unless you are hoping to host this externally, in which case you absolutely can by instead entering the domain you hope you remotely connect to your host with via your own networking approach. Just be sure then to change the password to something substantially more secure.
Now, check Rancher’s deployment progress (and probably wait a bit).
$ k3s kubectl -n cattle-system rollout status deploy/rancherWhen the table which prints out suggests the rancher- workload in particular is “Running”, you should see your new control plane interface at the hostname you gave it from a different machine on the local network.
Once you’ve logged in, you’ll be greeted with a less customized version of this:
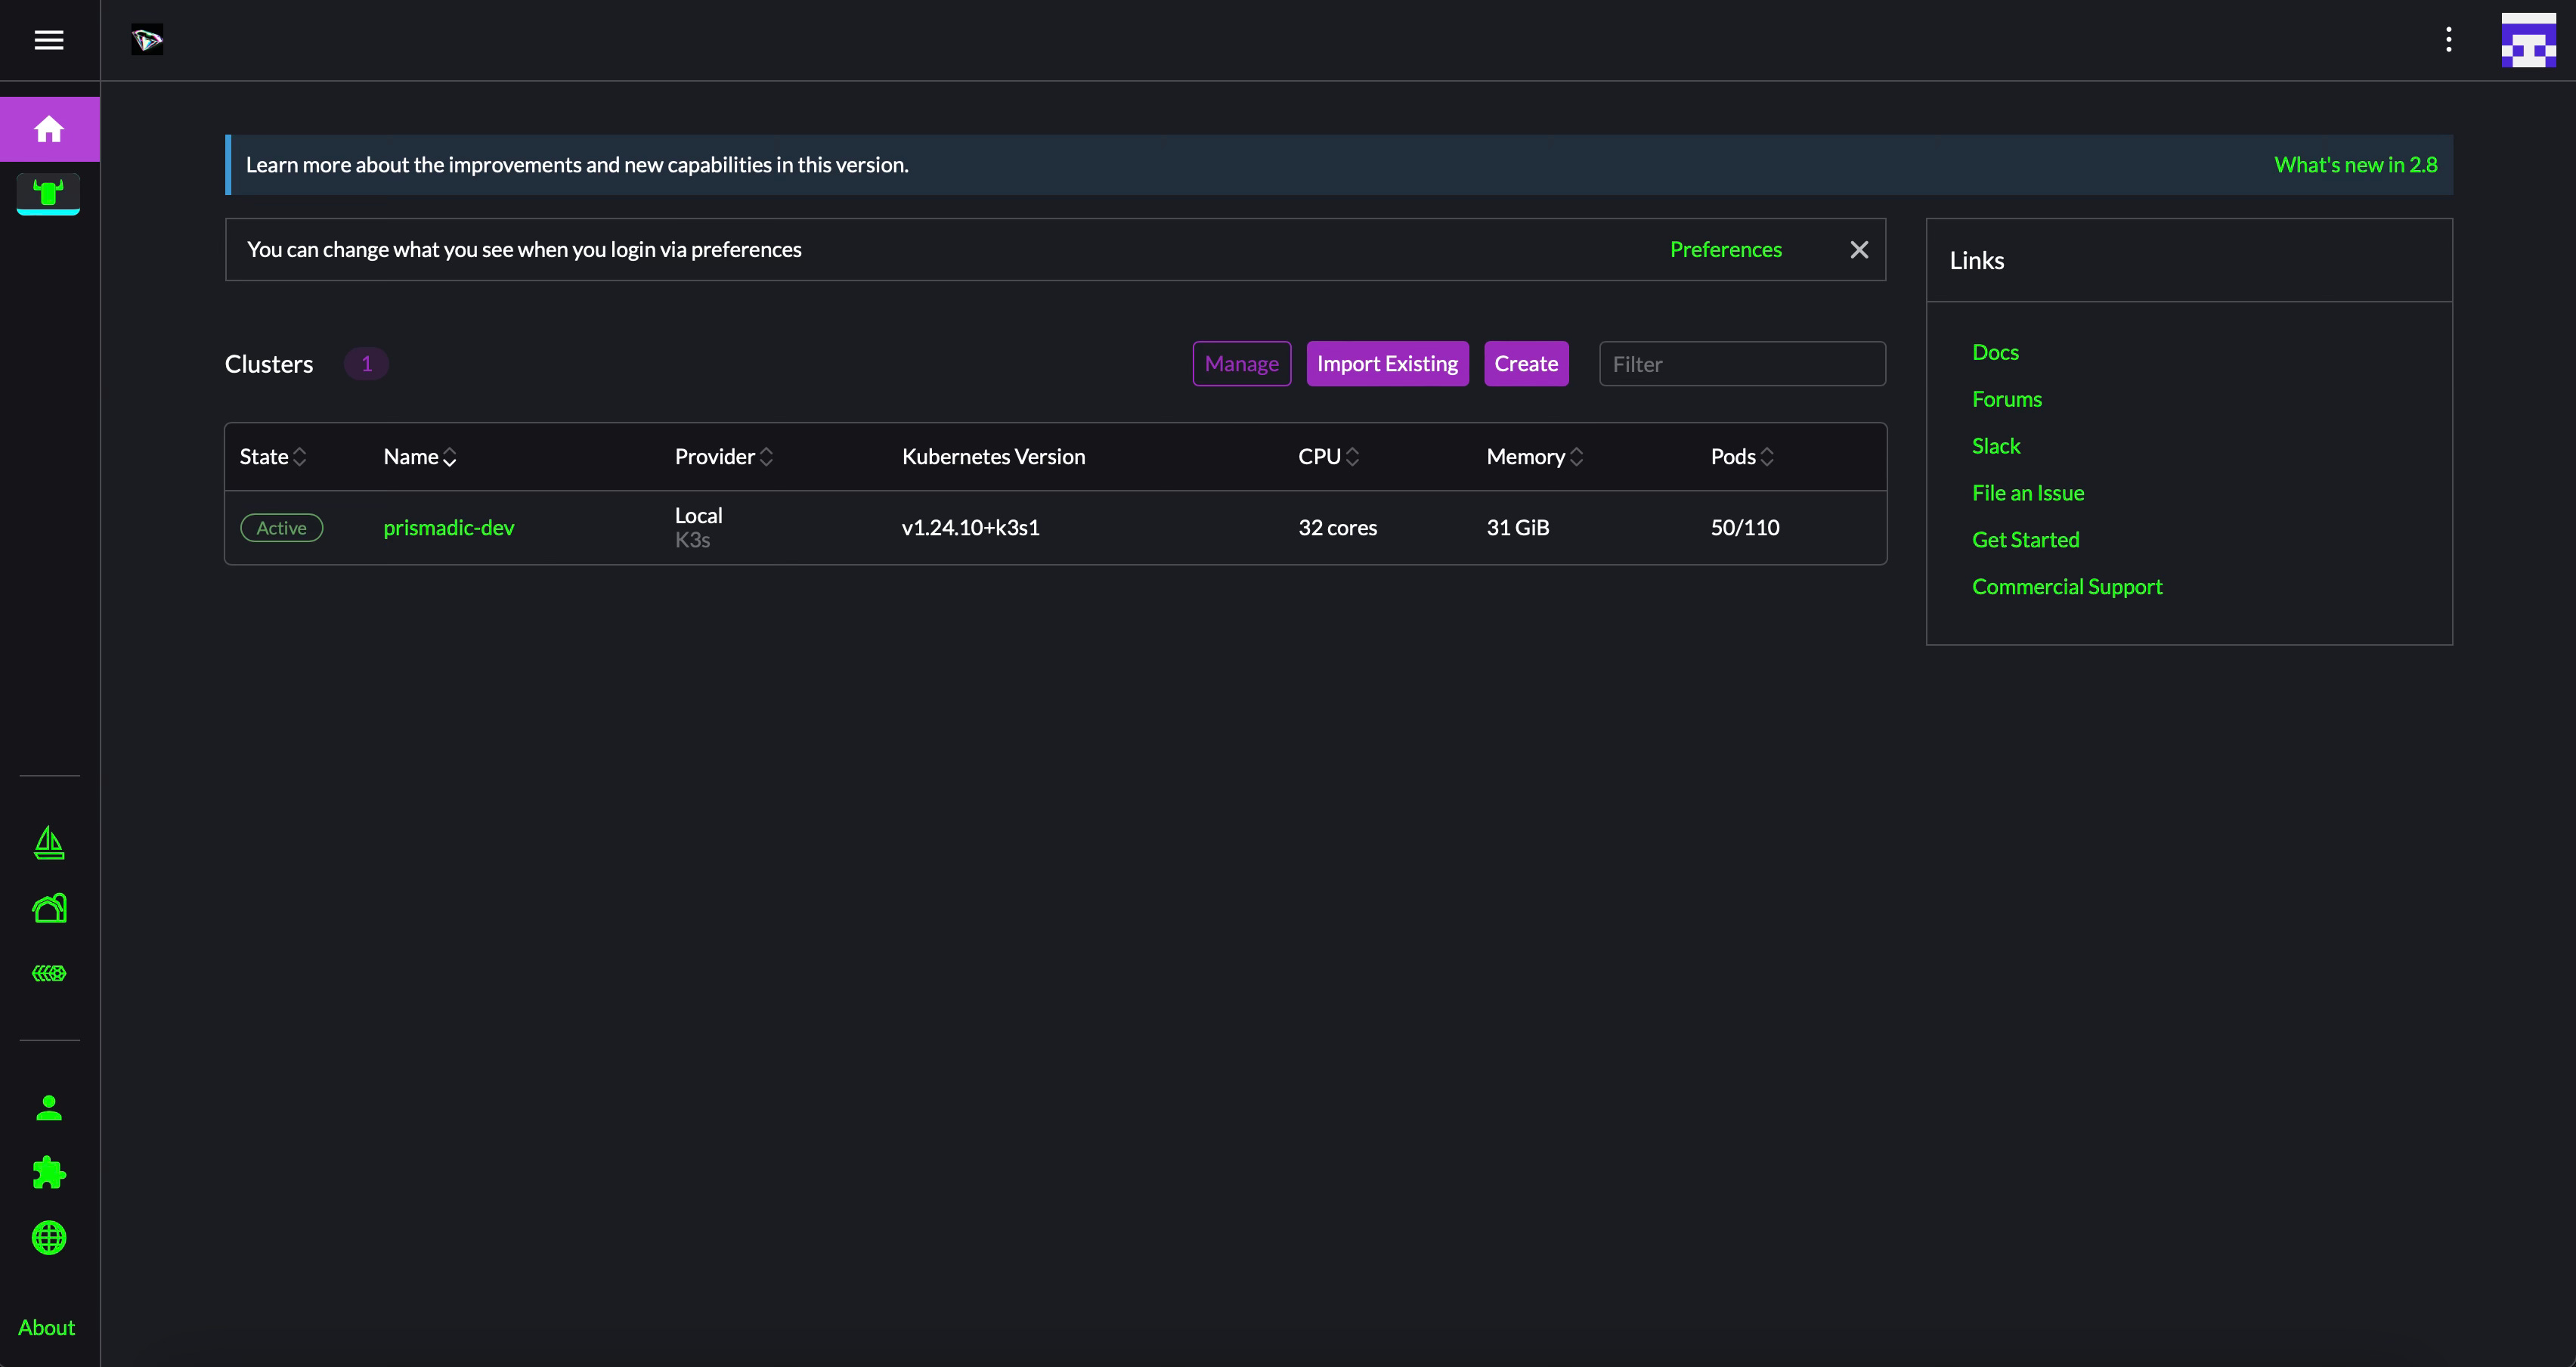
Congrats! This is an enviable development cluster UX already, but it needs workload context.
💪 GPU Workloads in Kubernetes
Kubernetes uses manifests made of YAML (Yaml Ain’t Markup Language)1.
For this reason, we must first install the Kubernetes ResourceDefinitions and ResourceClasses for CUDA-enabled workloads which require driver-level GPU access2.
As I said before, we no longer need the CLI.


1️⃣ For the first repository, enter these details:
name: nvdp
url: https://nvidia.github.io/k8s-device-plugin
2️⃣ And for the second, enter these:
name: nvgfd
url: https://nvidia.github.io/gpu-feature-discovery
Once you’re done adding the repositories, you will be able to find them in the Chart search.
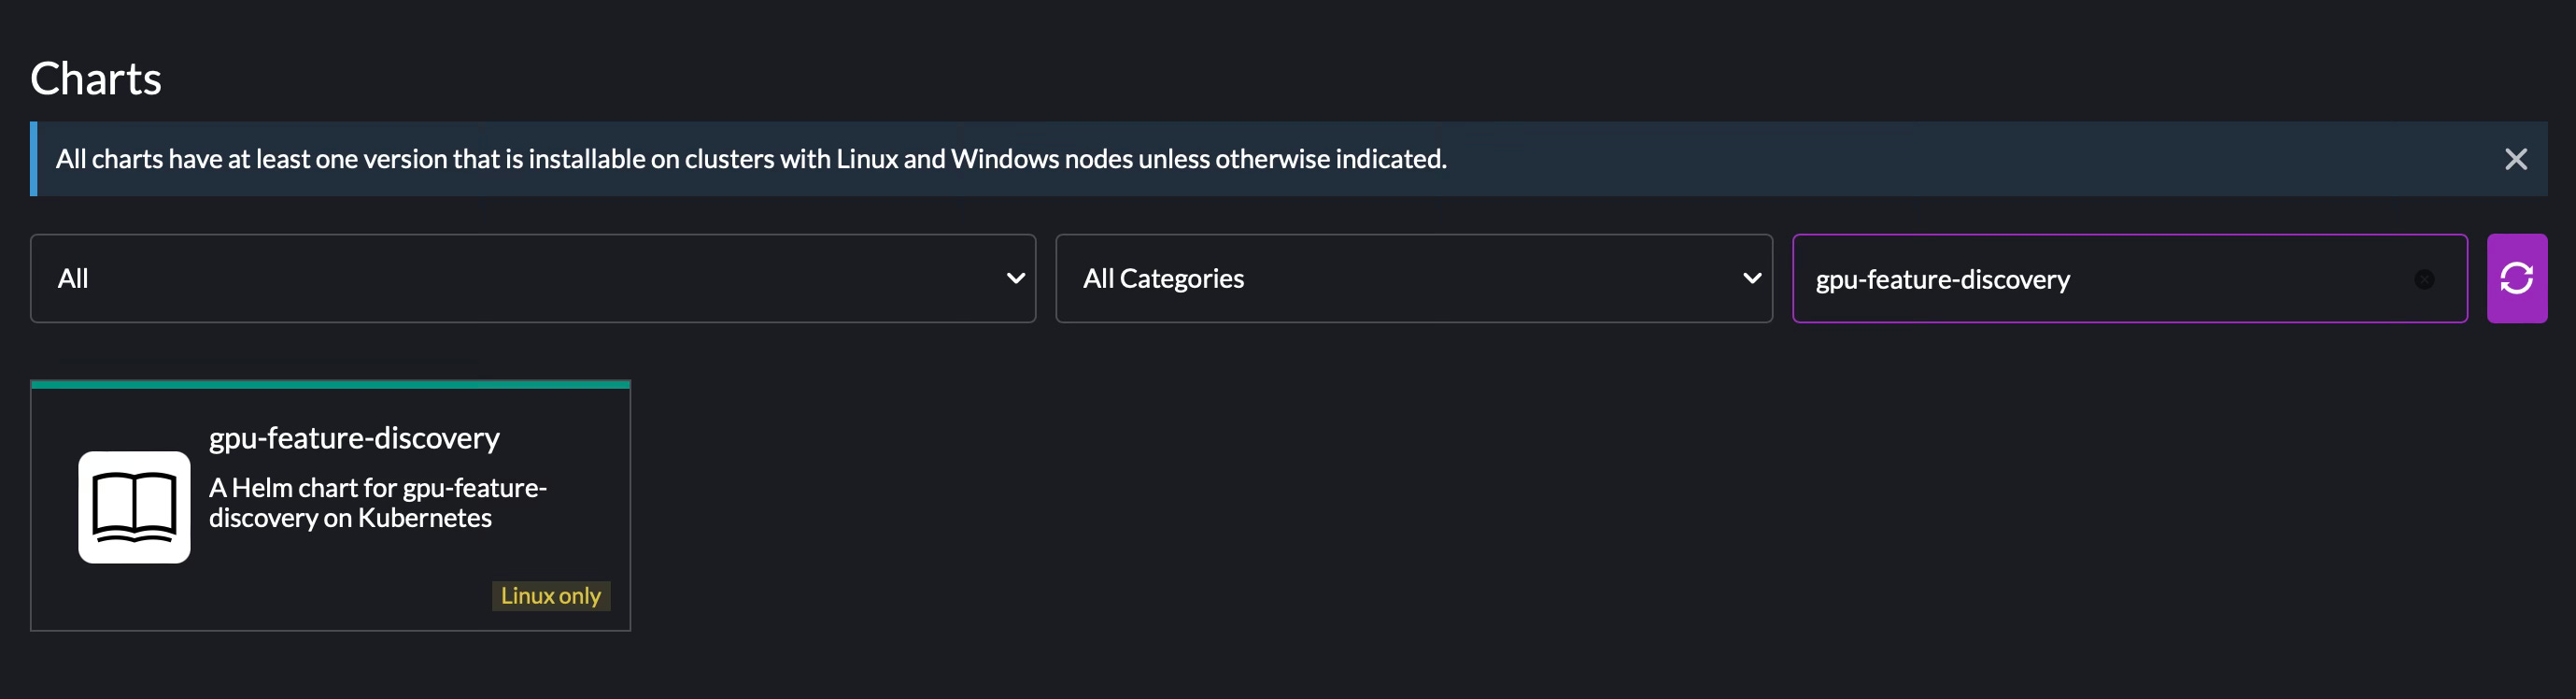
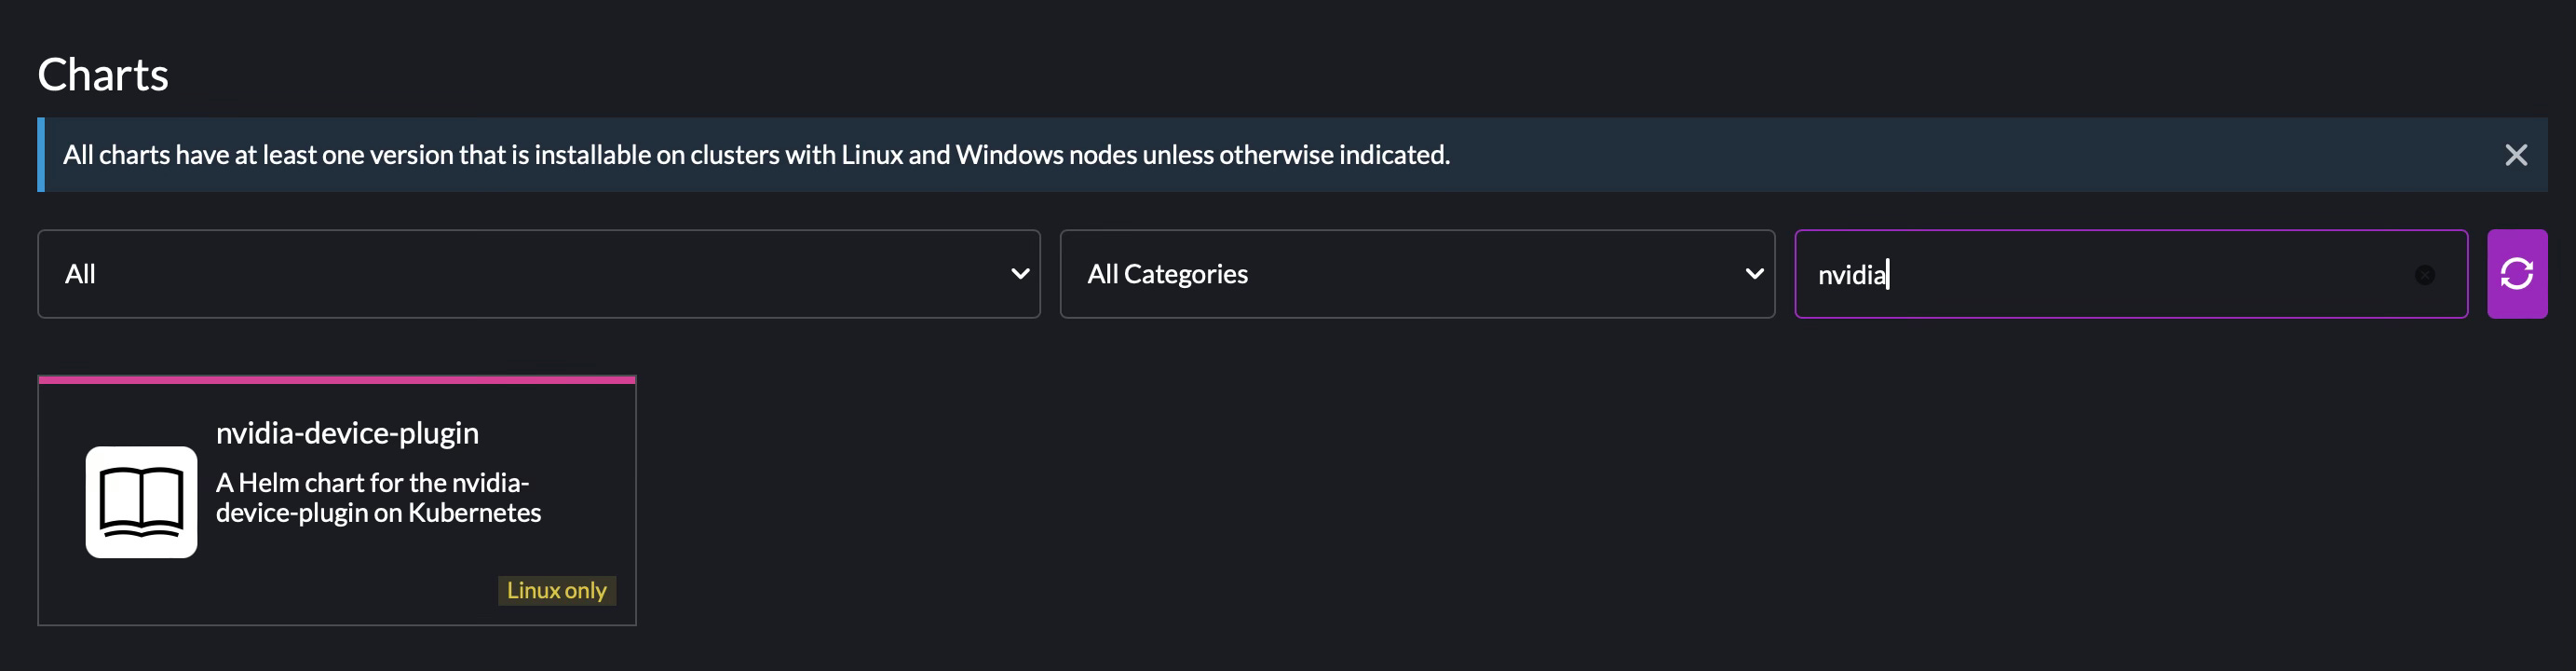
Go ahead and install both of these with the registered defaults.
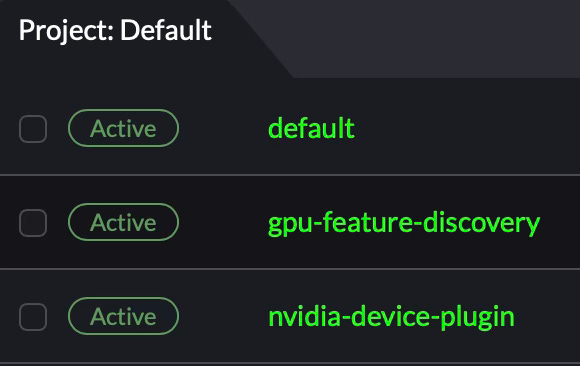
Hard to tell what they’ve done when done. Here are the two namespaces the Nvidia helm charts made.
Now that it’s possible to talk to our GPUs through the Kubernetes cluster control plane: it’s time to use them, and in a way we are familiar with.
Back to Jupyter Notebooks (nothing is lost in our goal to engineer a better system, it’s just better)!
📝 One to Jupyterhub
We’re going to play on these words: Zero to Jupyterhub because well, we’ve skipped ahead a bit.
Similar to how you added the Nvidia repositories, let’s configure the jupyterhub one.
name: jupyterhub
url: https://hub.jupyter.org/helm-chart/
And just like before, go ahead and install — WAIT. Don’t install just yet.
Make sure you have a chance to do two things suited to your requirements:
create a namespace.
edit your JupyterHub
values.yaml.
Creating a namespace is easy. I’ll let you do that.
Your JupyterHub configuration is altered significantly in two different YAML keys.
First thing is to use the config block under hub to set up authentication. Easy enough, just have faith Kubernetes will know what to do with regard to the application’s image.
hub:
  ...
  config:
    JupyterHub:
      admin_access: true
      authenticator_class: dummy
    Authenticator:
      admin_users:
        - <your account name>
    DummyAuthenticator:
      password: <desired password>
Next is the image which is pulled then used as your JupyterLab environment. As you may know, we require CUDA be installed anywhere torch and the like will be loaded. We’re going to use a pre-built image that contains that work already, and extends it upon the Jupyter-single-user image that comes in the helm chart by default.
So in essence, just copying the official Jupyter image with CUDA pre-installed.
singleuser:
  ...
  image:
    name: cogstacksystems/jupyter-singleuser-gpu
    pullPolicy: IfNotPresent
    pullSecrets: []
    tag: latest
There! When it installs, it will use this image to spin up new JupyterLab environments.
One last thing, we’re going to make sure the proxy-public service the operator creates does not clash with the Rancher UI. This should be done through the UI.
Navigate to Service Discovery → Services → scroll down → click proxy-public → and swing over to the dropdown, click Edit Config where you will change the listening port to… something else. We’re going to use 8888.
You can now use the hostname/IP of the cluster to reach JupyterLab on this port.
In a production environment, this would be handled by an ingress with a custom domain configuration such that you could deploy infinite services with associated subdomains.
Milvus
We’re going to use a Kubernetes operator to construct our Milvus memory “subsystem”3 which contains our environment’s virtual context.
I will need to beg an apology from the reader, you must return to the command line once more. But do so through Rancher nonetheless and enter in this command.


$ helm install milvus-operator \
  -n milvus-operator --create-namespace \
  --wait --wait-for-jobs \
  https://github.com/zilliztech/milvus-operator/releases/download/v0.8.4/milvus-operator-0.8.4.tgz
Check that the operator is installing accordingly:
$ kubectl get pods -n milvus-operatorWhile the operator is creating all of its necessary resources, one of them will be a CRD (custom resource definition) for Milvus clusters. This should take just a moment. Now, creating a new cluster to store information is as easy as saving the following as *.yml:
apiVersion: milvus.io/v1beta1
kind: Milvus
metadata:
  name: llm-mem # feel free to edit this
  labels:
    app: milvus
spec:
  mode: cluster
  dependencies: {}
  components: {}
  config: {}
with kubectl the same way we do the others:
$ kubectl apply -f llm_mem.ymlin order to validate that, we use the CRD in our kubectl command.
$ kubectl get milvus && kubectl get podsNAME MODE STATUS UPDATED AGE
llm-mem cluster Healthy True 6m13s
…
Excellent! From there you should be able to see your milvus cluster booting up. This may also take a moment.

This diagram4 is particularly oversimplified. Those “parse” arrows are doing a lot of heavy lifting here. Thankfully, we have a short answer in the form of hygiene, our tool to convert API responses and payloads into compressed natural language structures (bullet pointed lists and the like, while saving ~15% tokens on average).
We also don’t have a traditional computing interface to parse any of this information in a contained, secure way that is transparent and easy to debug.
Instead, we have a clustered computing environment capable of that.
In Part 3, we will build a custom inference API for designing your own way around problems with data with LLMs⚡️
I parenthesize the acronym because it’s declarative. You cannot “run” yaml files. They merely describe your desired state in the context of virtual workloads and related hassle like networking, storage, etc.
Do these steps in order, they are synchronous.
It’s not a subsystem at all. It’s just another operator, but this fits into the notion that LLMs can power a diverse range of interfaces and we won’t know until we treat each interaction as a thread with meta-characteristics important to future needs (not a big stretch seeing as most chatbots store history for a reason).
https://memgpt.ai